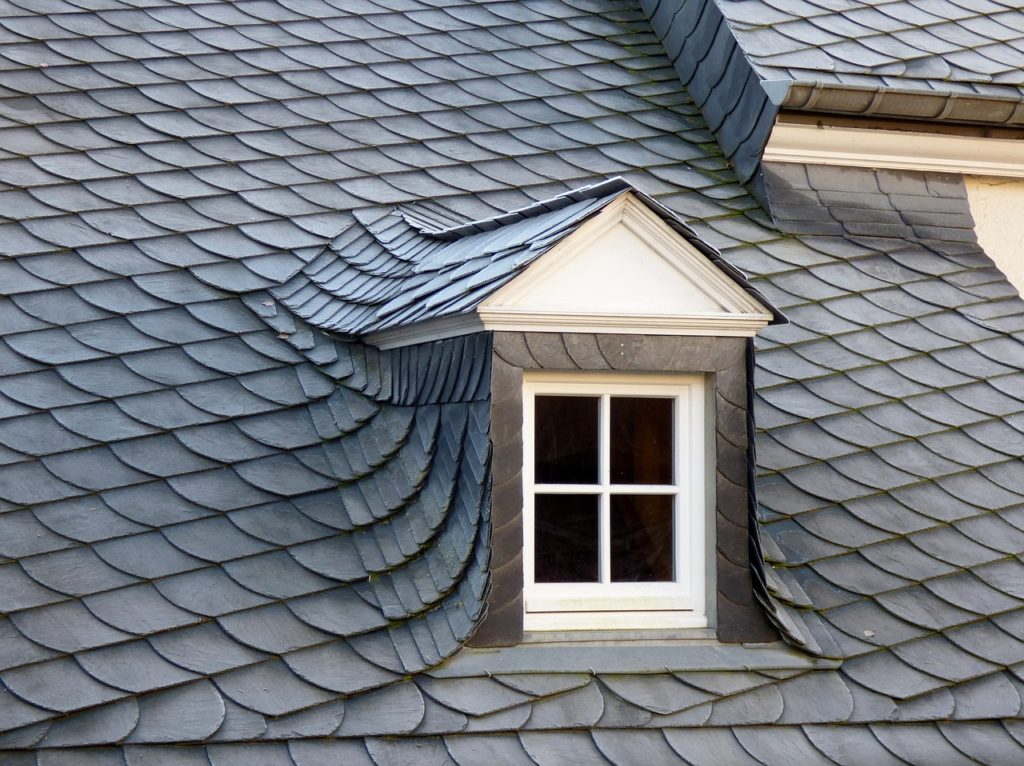
As one of the oldest and the most popular choice for roofing, slates are certainly a durable and beautiful option for your home. However, they can be quite a project to install, especially for first-timers. We have compiled a comprehensive 2-part guide on slate roof installation. The first part includes all the information that you will require before you get started on a slate roof installation project.
Step 1 – Roof Construction
Before beginning any roof tiling project, it is necessary to check the readiness of the base roof. Specifically speaking, the roof should have at least a slope in the ratio of 4:12. In other words, 12 inches of run, for every 4 inches of rising. Also, steeper roofs tend to be more durable and last longer. Unlike an asphalt shingle roof, walking on a slate roof will usually damage it and break tiles. One easy way to limit the chances of this is to have a roof steep enough that you can’t walk on it. Of course, that works if you are designing and building a new house. But if you have an existing house, you obviously will just work with what you have unless you want to go to the expense of changing the roof on the house. That is not a choice that most people would make.
Other than this, it is a good idea to ensure that all the elements of a house and in particular, pertaining to the roof slating project are designed to last for at least 150 years since that is how long slates can last. Most importantly, steer clear of any glued or laminated roof decking products like plywood and OSB (Oriented Strand Board) since they will not be as durable. It should be ¾ inch to one inch thick boards and fasteners that will last that long.
Step 2 – Slate Selection
Once the roof base is ready as per step 1, it is time to head out and select the most appropriate slate. Slates come in different colors, thickness, size, quality, type, as well as cost. Above all else, you do not want to end up with a slate that requires frequent replacements.
The best criteria should be to select slates that are durable, easy to work with, and make your roof look elegant. You can always take a professional opinion while you are selecting slates. It is a good idea to see a few slate samples before you finalize one. It is essential to avoid buying slates without physically seeing them first so that you can be sure of their quality.
Step 3 – Preparation
The roof is ready, the slates have been delivered and you are all set to begin. However, before you begin, you must prepare yourself in the best way to complete the project. There is enough and more information available on the internet, not to mention some professional-grade tutorials to get you started. Read as much as you can, especially to gain clarity on do’s & don’ts. Find out what are the common mistakes in a roof slating project and make sure that you are equipped to avoid them. Once you are satisfied that you have gone through and understood every aspect of a roof slate installation you can proceed to the next step.
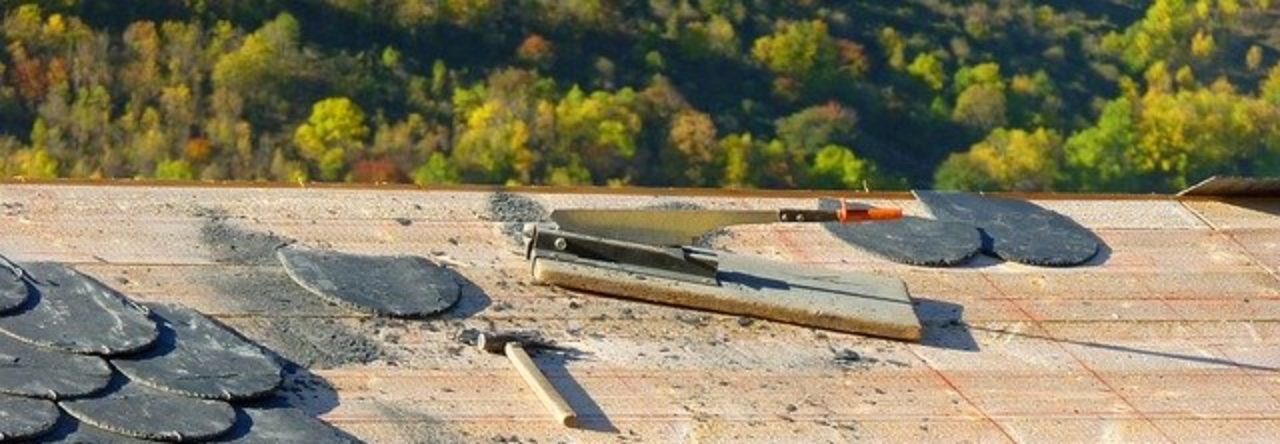
Step 4 – Tools
Gather all the relevant tools so that you are not faced with any unnecessary delays due to a lack of appropriate equipment. Some of the basic tools that you will need are slate ripper, slate cutter, as well as a slate installer. Go through ample video tutorials to gain a comfort level with all of these tools.
Stage one of the slate roof installation project is over. You can now refer to our guide for the 2nd and final stage for successful execution.
…